Home / Blog / Water Mitigation vs Restoration: What's the Difference and What Do You Actually Need?
Water Damage Missouri BlogWater Mitigation vs Restoration: What's the Difference and What Do You Actually Need?
If you have ever gotten a water damage quote and wondered why it lists two separate phases, or had an insurance adjuster ask whether "mitigation is complete," you have run into one of the most confusing distinctions in the restoration world. Mitigation and restoration sound like synonyms. They are not. They are two different jobs, done in sequence, billed differently, and treated differently by insurance. Understanding the difference is the fastest way to read an estimate intelligently, set realistic expectations for timelines, and avoid paying for work you do not need, or skipping work you do.
The Plain-English Difference
Here is the simplest way to think about it:
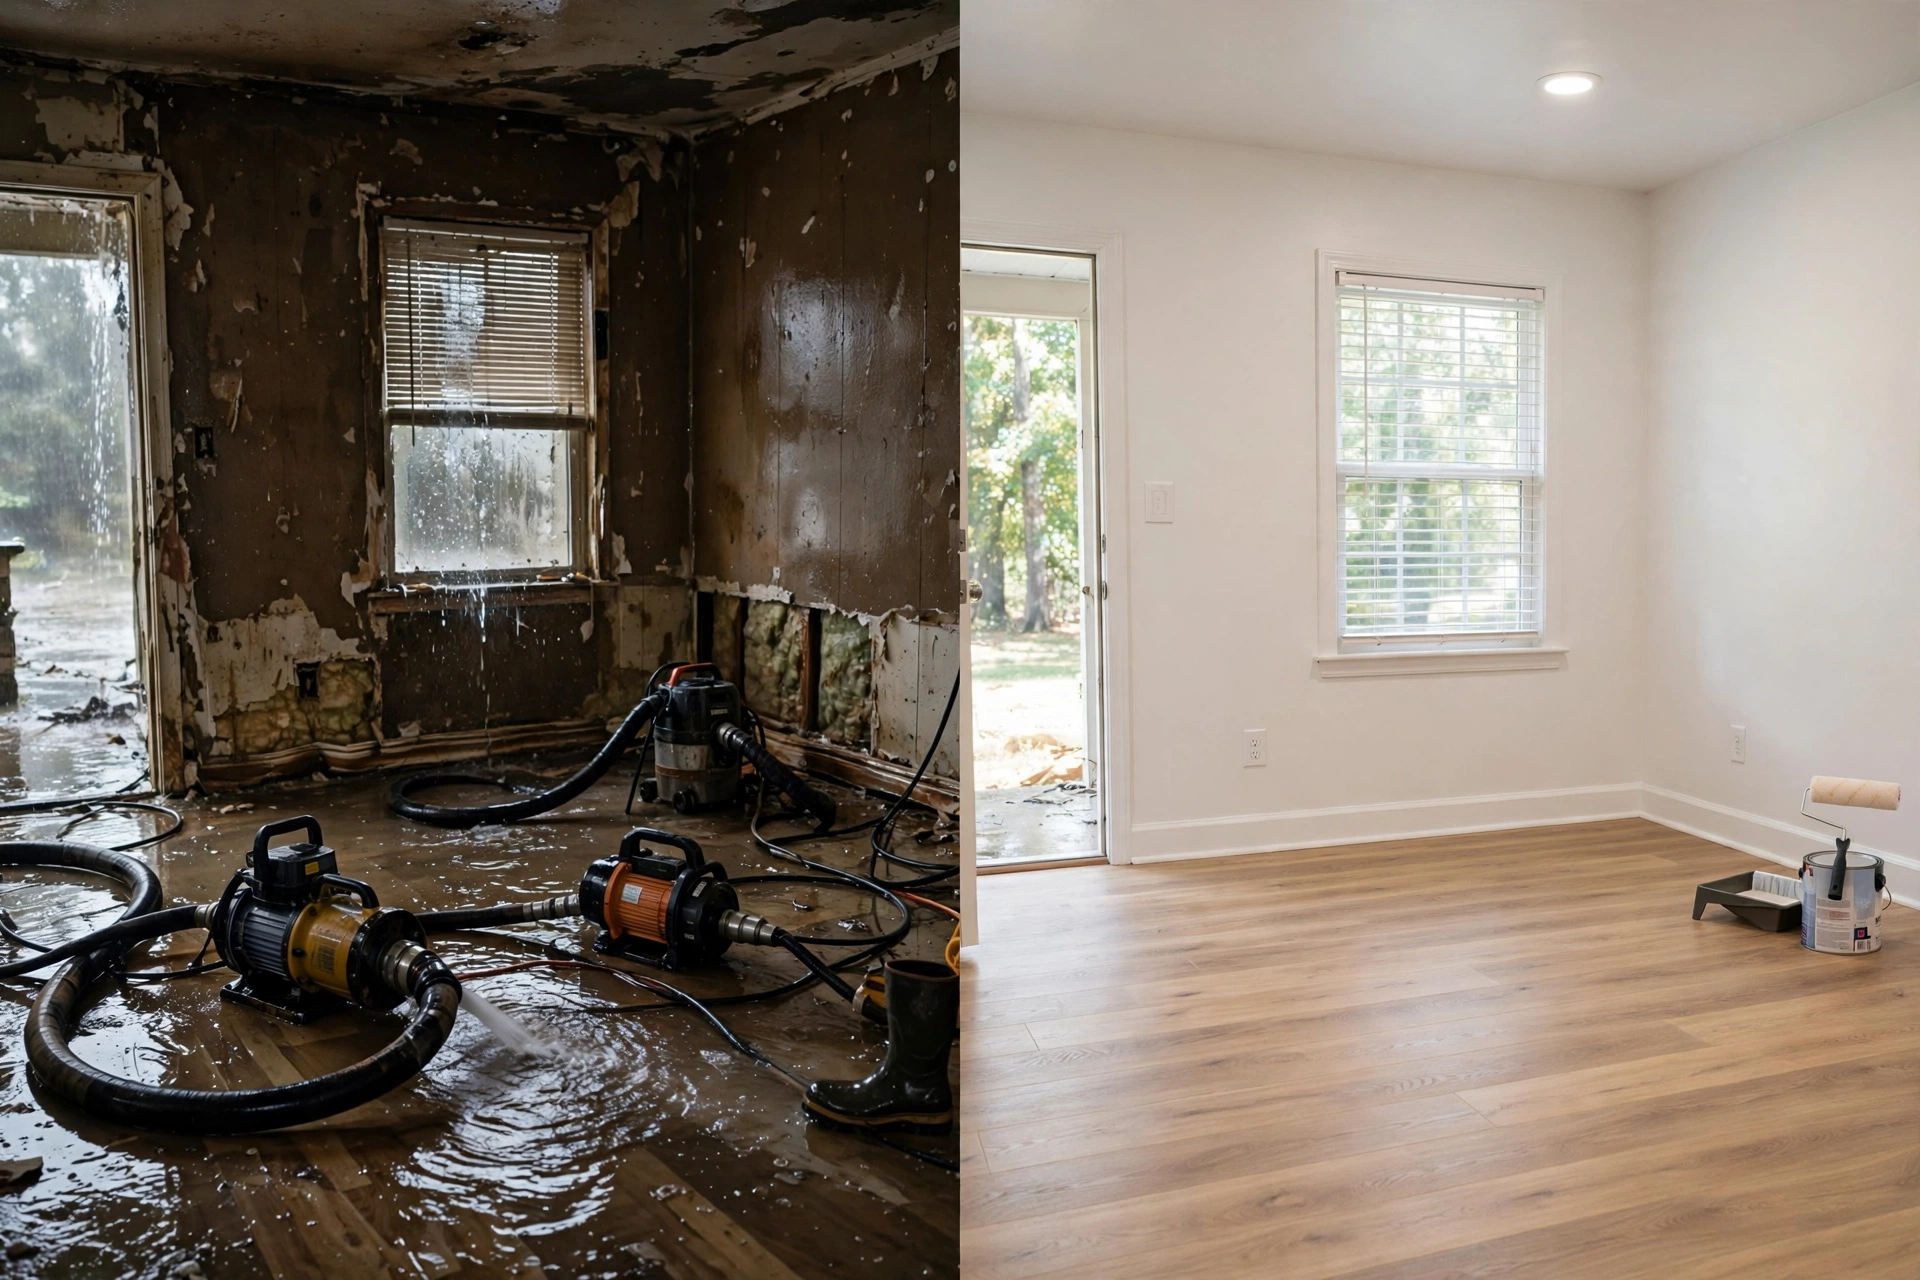
- Mitigation means stopping the damage from getting worse. Get the water out, dry the structure, remove what cannot be saved, and stabilize the property. It is emergency work, and speed matters more than perfection.
- Restoration means putting the property back the way it was. New drywall, new flooring, paint, trim, fixtures. It is construction work, and quality matters more than speed.
Mitigation answers the question "how do we stop this from becoming a bigger disaster?" Restoration answers the question "how do we make it look like this never happened?" You cannot sensibly do the second before the first is finished, because rebuilding over wet framing just traps moisture inside your walls.
What Water Mitigation Actually Involves
Mitigation is the urgent phase, and it typically starts within hours of the call. Here is what happens, in order:
1. Inspection and moisture mapping
Technicians inspect the property and use moisture meters and thermal imaging to map exactly where water has traveled, including inside wall cavities and under flooring. This matters because water rarely stays where you can see it. A professional water damage assessment at this stage creates the baseline that everything else, including your insurance claim, is built on.
2. Water extraction
Standing water is removed with truck-mounted or portable extractors. This is the highest-leverage step in the entire process: every gallon removed now is a gallon that is not soaking deeper into materials. Our emergency water extraction service covers exactly this phase.
3. Removal of unsalvageable materials
Materials that cannot be dried and sanitized are removed. Carpet pad almost always goes. Drywall that wicked up contaminated water goes. Insulation that got soaked goes. This demolition is selective and documented, not a gut renovation, and what gets removed depends heavily on the water category. Clean water saves more; black water saves almost nothing porous.
4. Structural drying
Industrial air movers and dehumidifiers run for days, with technicians returning to take moisture readings and reposition equipment. Drying is not done when surfaces feel dry; it is done when meters confirm materials have reached target moisture levels. Our structural drying services page describes this phase in detail.
5. Cleaning and sanitizing
Affected framing, subfloors, and hard surfaces are cleaned and treated with antimicrobial products, especially after gray or black water exposure. For flood events, post-flood sanitization is a distinct and critical step.
What Water Restoration Actually Involves
Once the structure is verified dry, the rebuild begins. Restoration is essentially a small construction project scoped to the damaged areas:
- Drywall and insulation: removed sections are replaced, taped, mudded, and sanded.
- Flooring: new carpet, hardwood, laminate, or tile goes in, often including subfloor repair.
- Trim and paint: baseboards, door casings, and fresh paint restore the finished look.
- Fixtures and cabinets: vanities, kitchen cabinets, or built-ins damaged beyond saving are replaced.
- Final detailing: the goal is pre-loss condition, the room looking as it did before the water arrived.
Depending on the scope, restoration may involve carpenters, painters, and flooring installers, which is why it is often scheduled and priced separately from the emergency mitigation work. Water Damage Missouri handles both residential and commercial properties; see our residential water damage repair and commercial water damage restoration pages.
Mitigation vs Restoration: Side by Side
| Mitigation | Restoration | |
|---|---|---|
| Goal | Stop damage from spreading | Return property to pre-loss condition |
| Timing | Immediately, ideally within 24 to 48 hours | After drying is verified complete |
| Typical duration | 3 to 5 days of active work | 1 to 3+ weeks depending on scope |
| What drives cost | Equipment deployed, labor hours, volume of materials removed | Scope of reconstruction, materials chosen |
| Can it be estimated upfront? | Reasonably, after inspection | Not accurately until mitigation is finished |
| DIY potential | Limited to very small clean-water incidents | Skilled DIYers can handle cosmetic portions |
That second-to-last row is worth dwelling on. As one industry explainer puts it, mitigation costs are driven primarily by the equipment deployed, the labor hours required for extraction and monitoring, and the volume of materials removed, while restoration costs depend on the scope of reconstruction, which is not fully known until mitigation is complete and a post-drying assessment has been conducted. Property owners who request a single upfront estimate covering both phases before mitigation is finished are unlikely to receive an accurate figure. If a contractor gives you one fixed price for everything on day one, treat it as a rough guess, not a promise.
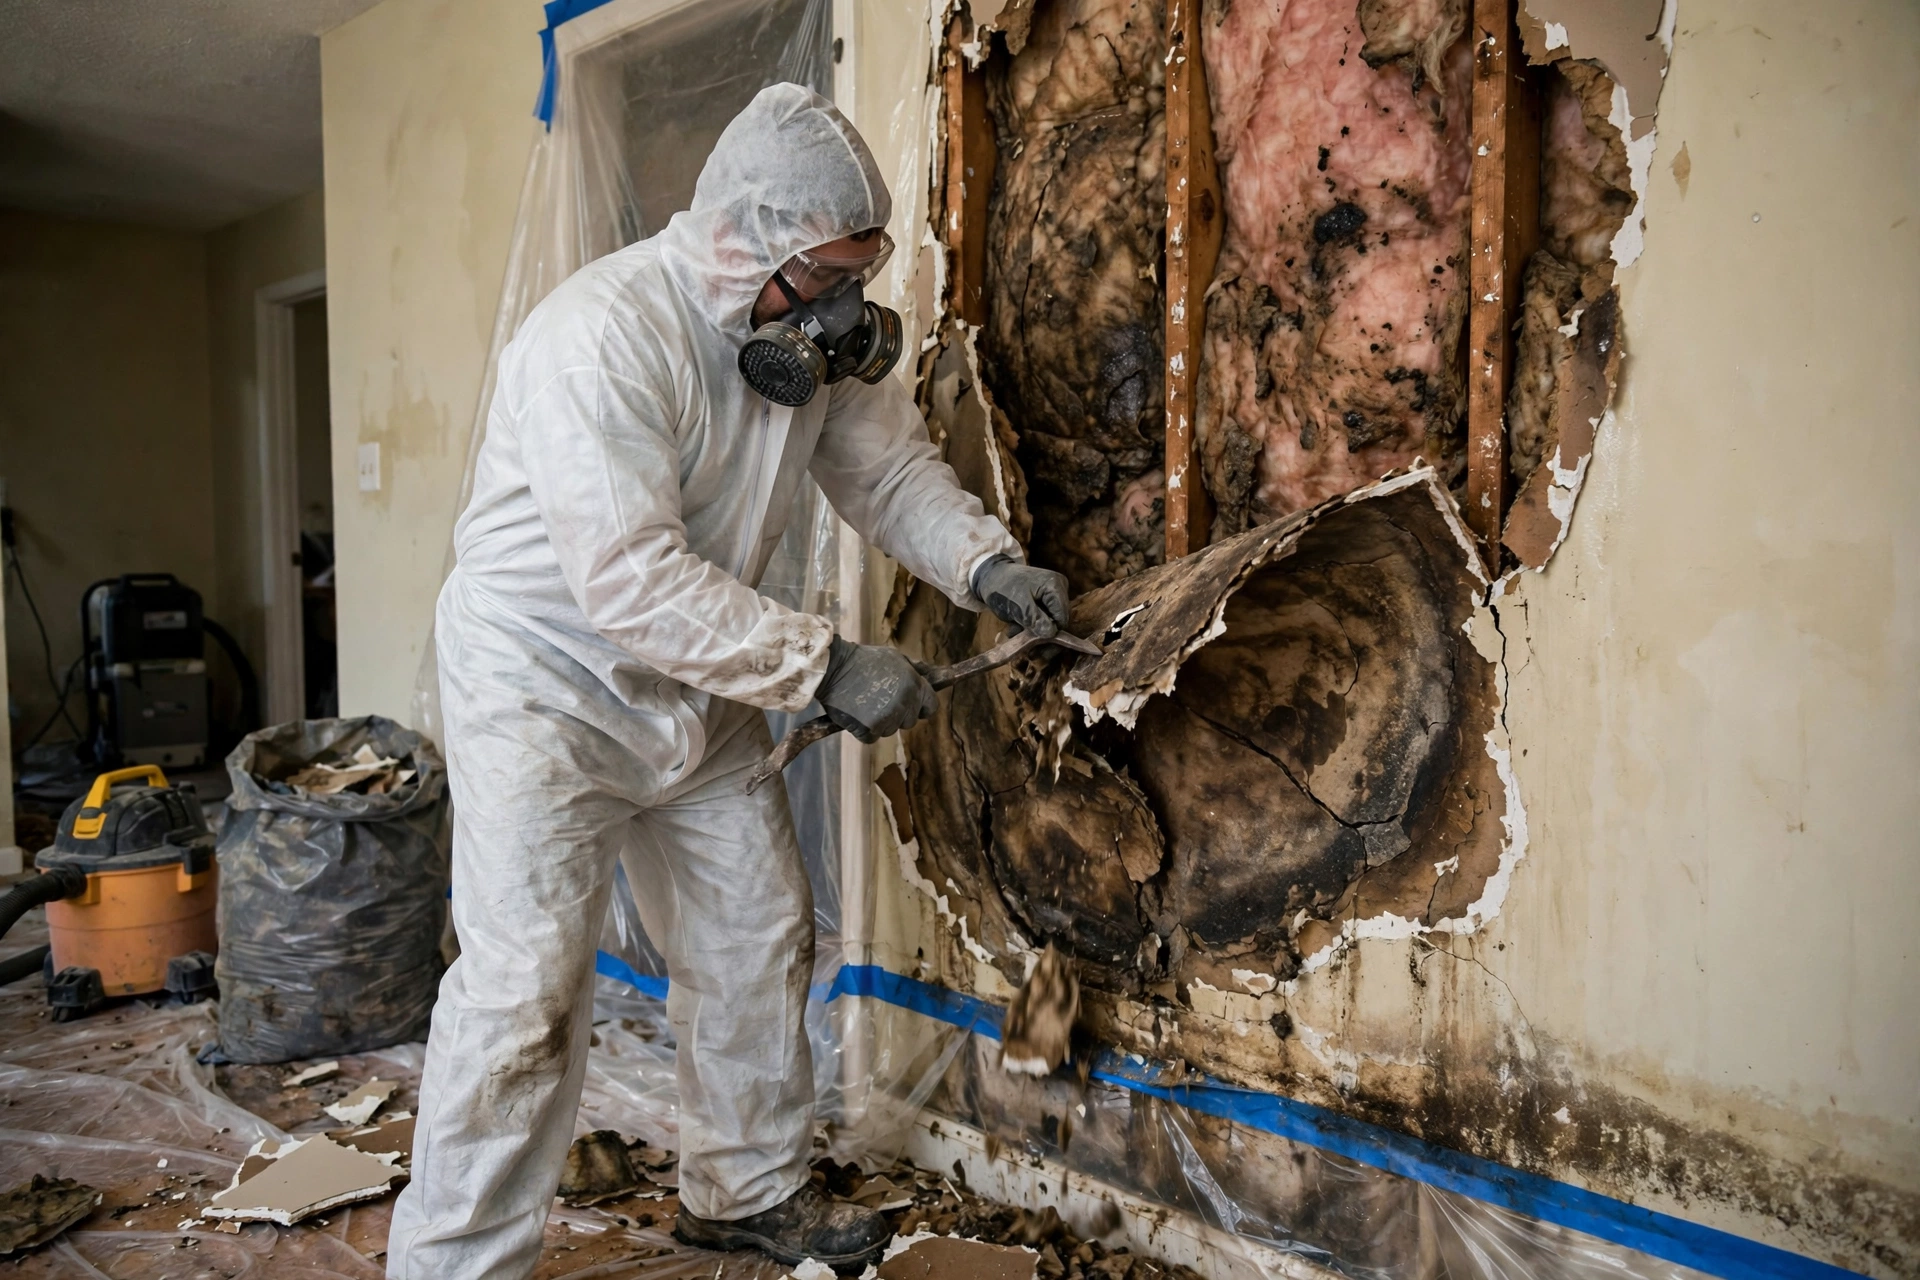
Real talk: anyone who quotes you a single firm price for mitigation plus full reconstruction before the drying is done is guessing. Honest companies estimate the emergency phase now and scope the rebuild after.
A Typical Timeline, Day by Day
To make the sequence concrete, here is what a mid-size residential water loss often looks like:
- Day 0 (the event): water discovered. Homeowner shuts off the source if possible, documents damage, and calls for help. (Our first-24-hours guide covers this in detail.)
- Day 0 to 1: mitigation crew arrives, inspects, maps moisture, extracts standing water, and begins removing unsalvageable materials.
- Days 1 to 4: drying equipment runs around the clock. Technicians return daily to check moisture readings and adjust equipment placement.
- Day 4 to 5: final moisture verification. Antimicrobial treatment applied. Mitigation phase closes out with documentation for insurance.
- Days 5 to 7: restoration scope is finalized based on what was actually removed and what the dried structure needs. Materials are ordered.
- Weeks 2 to 4: reconstruction: drywall, flooring, trim, paint. Final walkthrough and sign-off.
Smaller jobs compress this considerably; a single-room clean-water loss might go from event to finished in under two weeks. Large or contaminated losses stretch it. The key structural fact is that the phases are sequential: restoration waits on verified dryness, because rebuilding over damp framing traps moisture and virtually guarantees future mold.
How Insurance Treats Each Phase
Insurance companies think in these same two phases, and the distinction affects your claim in practical ways:
- You have a duty to mitigate. Standard homeowners policies require you to take reasonable steps to prevent further damage after a loss. In plain terms: you cannot let water sit for a week and then expect the insurer to cover the resulting mold. Emergency mitigation is not optional extra work; it is part of what the policy expects.
- Mitigation costs are usually covered as emergency services when the underlying loss is a covered peril (sudden and accidental water damage). Insurers would much rather pay for three days of drying than for a full mold remediation six weeks later.
- Restoration is covered as repairs to bring the property back to pre-loss condition, subject to your deductible and policy limits.
- Documentation must cover both phases. Moisture readings, photos of removed materials, equipment logs, and itemized invoices for each phase make the adjuster's job easier and your claim smoother.
One more insurance reality: the failed component itself is typically not covered. If a washing machine hose bursts, the policy generally pays for the resulting water damage, not for a new washing machine. And as always, flood damage from rising exterior water needs separate flood insurance. Our insurance claim assistance page explains how direct billing works when a restoration company coordinates with your carrier.
When Do You Need Only Mitigation?
Not every water incident needs both phases. You may need mitigation only when:
- The water was clean (Category 1) and discovered quickly.
- It affected hard, non-porous surfaces like tile or sealed concrete.
- Drying was completed before materials were damaged, verified by moisture readings, not by touch.
A supply line leak caught within hours on a tile laundry room floor is the classic mitigation-only scenario: extract, dry, verify, done. No drywall was harmed, nothing needs rebuilding.
When Do You Definitely Need Both?
- Water wicked into drywall or soaked insulation, these materials get removed, and removed materials must be replaced.
- Flooring was damaged: buckled hardwood, delaminated laminate, or contaminated carpet.
- The water was gray or black, requiring removal of porous materials as a sanitary matter.
- Cabinets, vanities, or built-ins absorbed water and cannot be dried in place.
Missouri's storm season produces a lot of the second category. Flash flooding, which the Kansas City area sees regularly in spring and summer, brings Category 3 water into basements and ground floors, and Category 3 means porous materials come out. That is mitigation plus significant restoration, and it is also why flood damage restoration and storm flood damage repair are distinct service lines rather than footnotes.
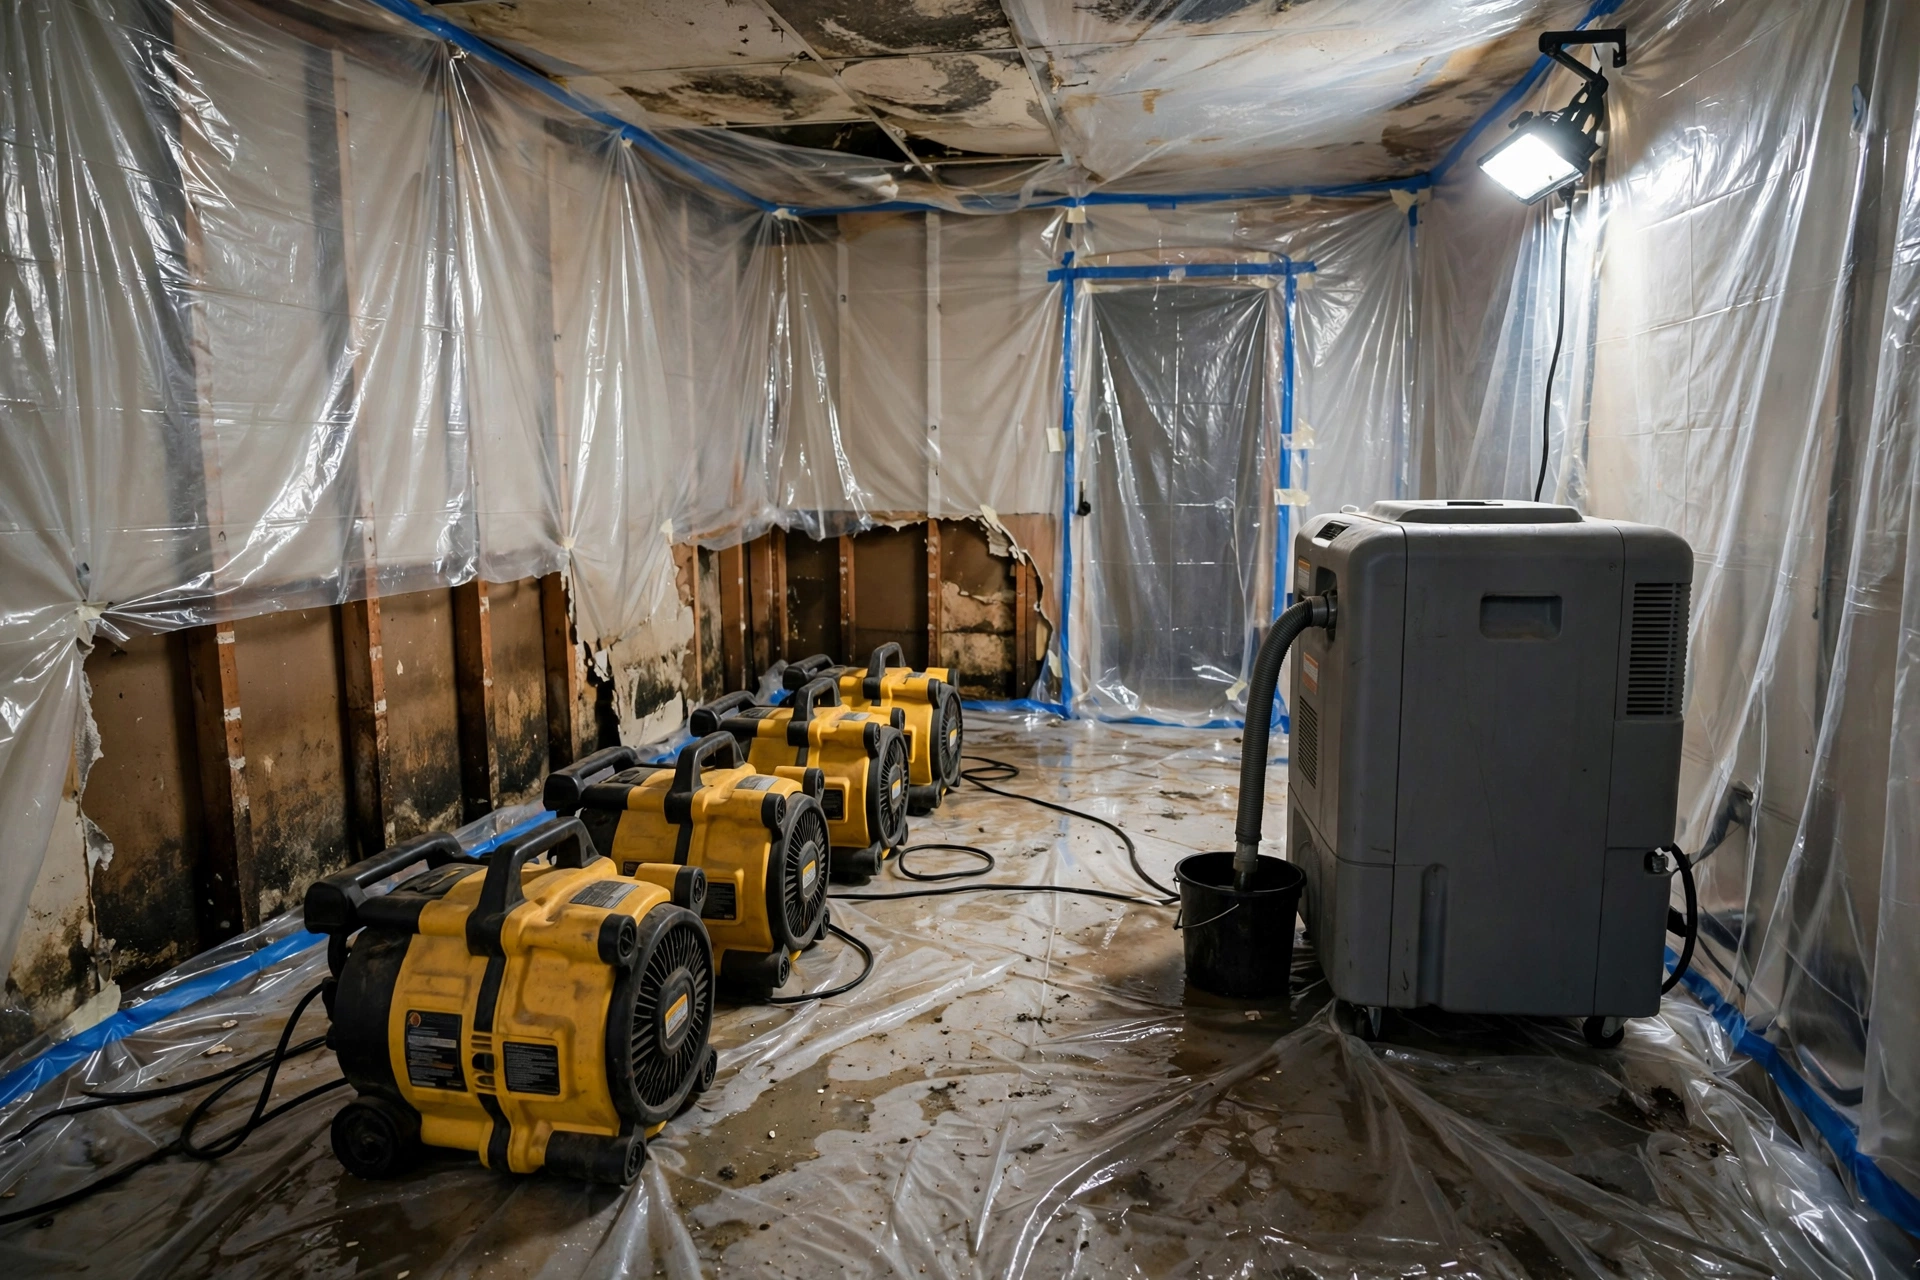
Real talk: "we dried it, so we're done" is only true if moisture meters agree. Surfaces feeling dry to the touch proves nothing about what is inside the wall cavity.
What You Can DIY vs What Needs Pros
The phase distinction helps here too. In the mitigation phase, homeowners can safely handle only the smallest clean-water incidents: mopping up a minor spill, running fans and a dehumidifier, pulling up a small area rug. Anything involving drywall, insulation, contaminated water, or an area larger than a small room belongs to professionals with extraction equipment, commercial dehumidifiers, and moisture meters.
In the restoration phase, skilled DIYers can legitimately handle cosmetic work like painting or installing trim once the structure is verified dry. But drywall finishing, flooring installation, and anything structural should meet professional standards, both for quality and because insurance-funded repairs come with documentation expectations. A good rule: DIY the paint, not the drying.
Choosing a Company That Handles Both
There is a practical advantage to hiring one company for both phases: continuity. The crew that mapped your moisture knows exactly what was removed and why, which makes the reconstruction scope accurate and the insurance documentation coherent. When vetting companies, ask:
- Do you handle both mitigation and reconstruction, or do you hand off the rebuild?
- Will mitigation and restoration be itemized separately in the estimate?
- How do you verify dryness before starting reconstruction?
- Will you document both phases for my insurance claim?
Water Damage Missouri's service lineup spans the full sequence, from emergency extraction through structural drying to complete cleanup and restoration, with flood water removal and debris removal for storm events. One team, one documentation trail, both phases.
The Paperwork Trail: What to Document in Each Phase
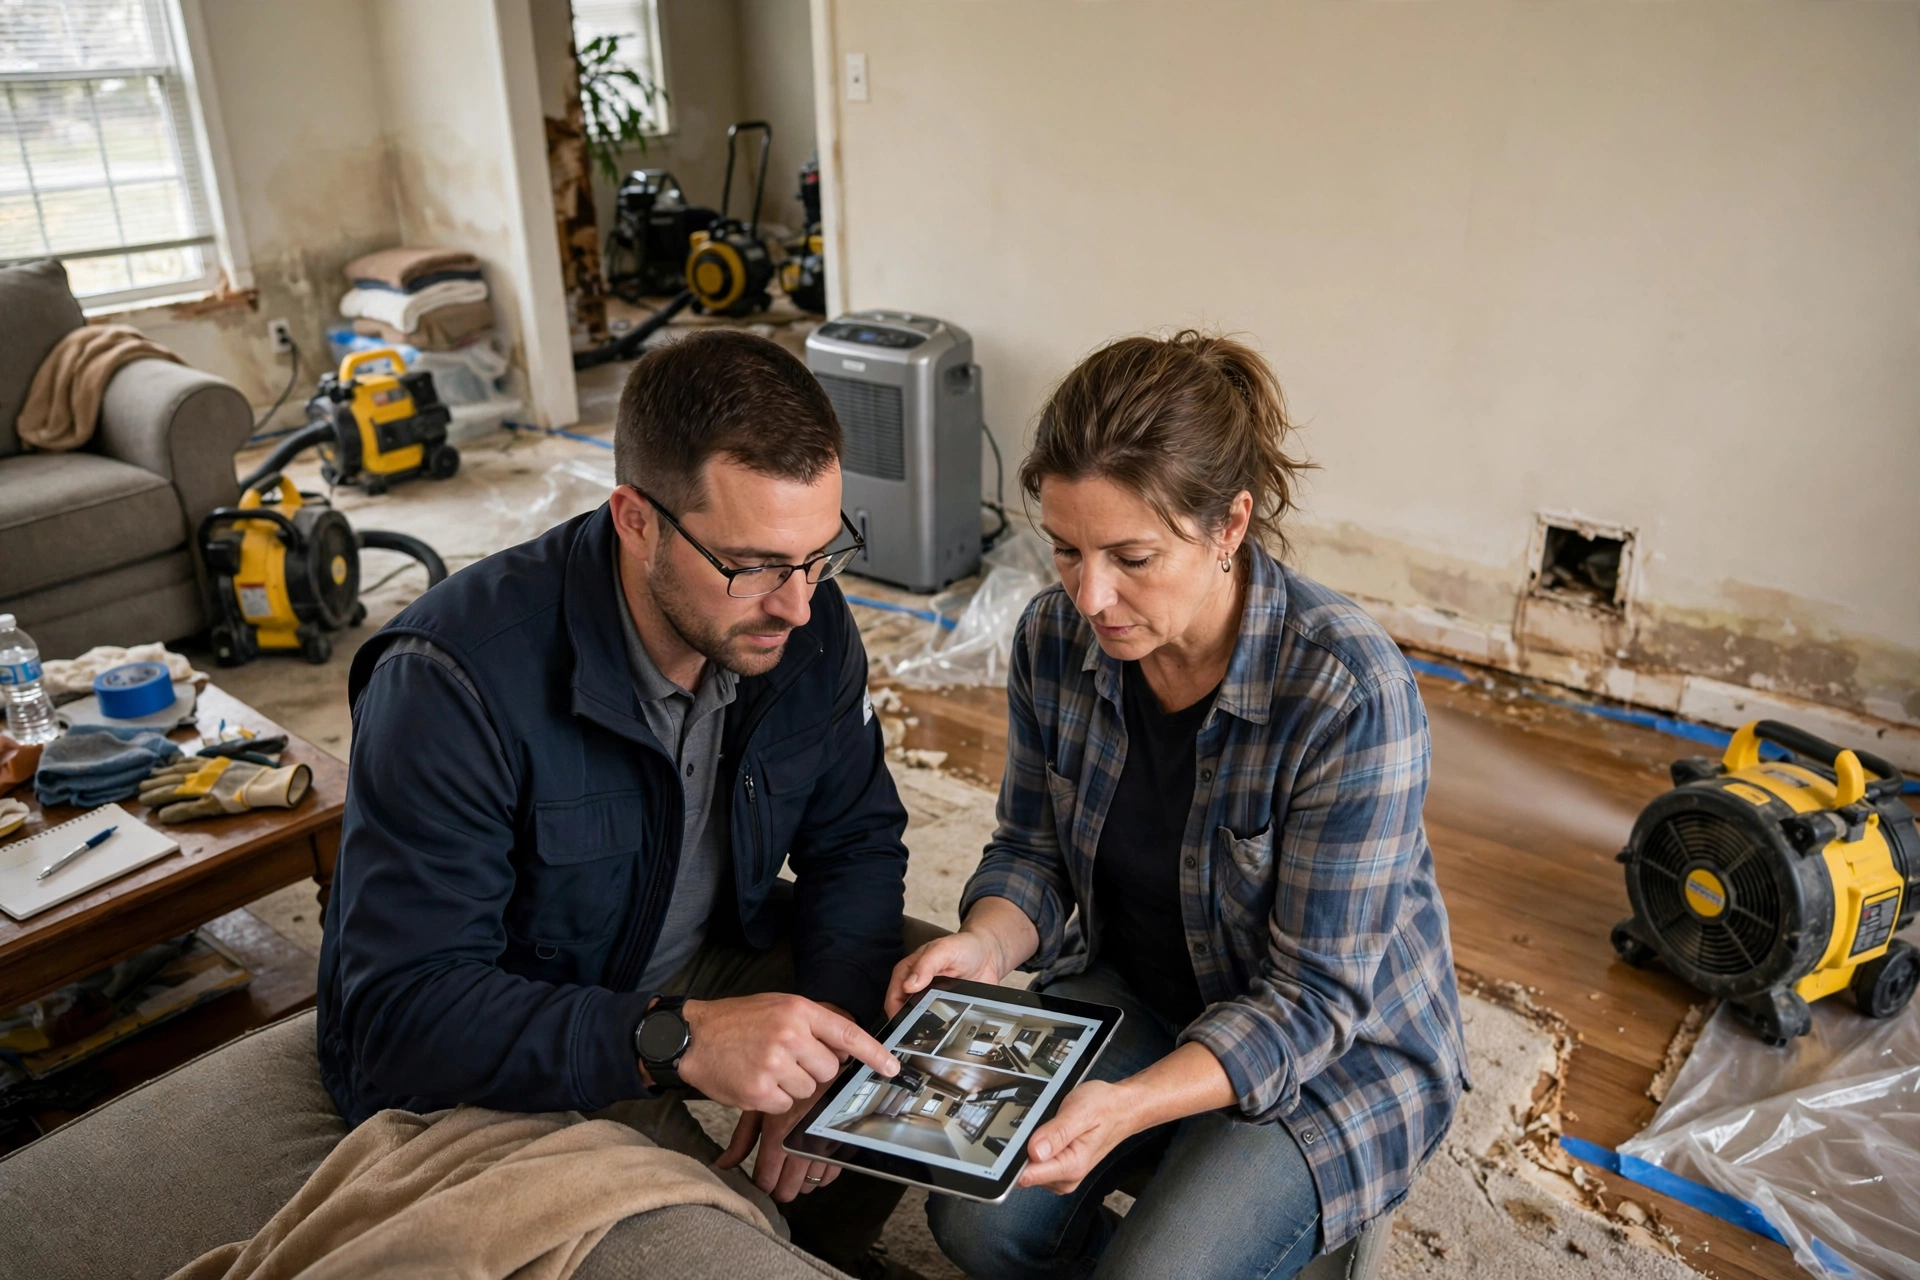
Good documentation is the unglamorous backbone of a smooth claim, and each phase generates different records worth keeping:
- During mitigation: date- and time-stamped photos and video of every affected area before anything is moved, moisture meter readings if the crew shares them, a list of materials removed (with photos of the removal), equipment placement logs, and all invoices. Note the exact time you discovered the water and the time you called for help; insurers care about response speed.
- During restoration: the reconstruction scope and estimate, material selections and receipts, permits if any, before-and-after photos of each rebuilt area, and the final invoice with proof of completion.
- Throughout: a simple log of every phone call, with date, name, and what was discussed. Claims adjusters change, and your log becomes the continuity.
Keep damaged items until the adjuster has seen them or given written permission to dispose of them. Photograph items before disposal when possible, including brand names and model numbers for appliances and electronics. For Missouri storm losses in particular, where entire neighborhoods file claims simultaneously, organized documentation is what keeps your file moving while others stall waiting for adjuster availability.
Common Mistakes That Turn Mitigation Into a Bigger Restoration Bill
Most expensive restoration jobs share a few preventable errors. Avoiding them is worth more than any negotiating tactic:
- Waiting to see if it dries on its own. It will not, not inside walls and under floors. The EPA guidance widely cited in the industry is to dry water-damaged areas within 24 to 48 hours to prevent mold growth, and every day past that window converts a drying job into a demolition job.
- Rebuilding before verified dryness. Painting over damp drywall or laying new flooring on a moist subfloor hides the problem for a few months, then delivers mold, odors, and a second, larger claim that insurers may view skeptically.
- Treating all water the same. Mopping up storm floodwater like it is a spilled bucket, without sanitizing, leaves contamination in porous materials. Category 3 water demands removal and disinfection, not just drying.
- Skipping the moisture mapping. Without meters, nobody knows the true extent. The visible stain is often the smallest part of the problem.
- Letting the wrong contractor do the drying. A general handyman can rebuild a wall beautifully, but improper drying technique, wrong equipment sizing, or no moisture verification turns a good rebuild into a mold incubator. The phases need different expertise.
- Delaying the insurance call. Prompt notice is a policy requirement, not a courtesy. Late reporting gives the carrier room to question the timeline and the extent.
None of these mistakes come from bad intentions. They come from treating water damage like a cleaning task when it is really a timed, two-phase technical process. Respect the sequence, verify with instruments rather than eyesight, and document as you go.
One Contractor or Two? How to Structure the Work
Some homeowners hire a mitigation-only company for the emergency phase and a separate general contractor for the rebuild. Others hire one full-service restoration company for both. Neither approach is wrong, but the trade-offs are real. Splitting the work can make sense if you already have a trusted contractor for the rebuild, or if your mitigation company genuinely does not do reconstruction. The risk is the handoff: moisture documentation must transfer cleanly, the rebuild scope must reflect what was actually removed, and scheduling gaps between contractors extend the time your home sits torn apart.
A single full-service company avoids the handoff problem. The technicians who mapped your moisture write the reconstruction scope, the insurance documentation stays in one file, and scheduling is one conversation. The thing to verify is that the company is genuinely competent at both phases, not a drying outfit that subcontracts the rebuild to whoever is available. Ask who performs the reconstruction work, whether it is in-house crews or subcontractors, and who holds the warranty on the finished work. Clear answers to those three questions tell you most of what you need to know.
Either way, insist on the phase separation in writing. Even with one contractor, the estimate should itemize mitigation and restoration separately, with restoration scoped after drying verification. That structure protects you if the rebuild scope changes, which it often does once walls are opened and the full picture emerges.
Frequently Asked Questions
Mitigation stops the damage: water extraction, drying, removal of unsalvageable materials, and sanitizing. Restoration rebuilds what was damaged: new drywall, flooring, paint, and fixtures. Mitigation is emergency work done first; restoration is construction work done after the structure is verified dry.
Mitigation always comes first. Restoration cannot begin until moisture readings confirm the structure has reached acceptable dryness, a process that typically takes several days. Rebuilding over damp materials traps moisture and leads to mold.
Yes, and there are advantages: continuity of documentation, accurate reconstruction scoping based on firsthand knowledge of what was removed, and a single point of accountability. Ask whether the company itemizes the two phases separately in its estimates.
Mitigation typically involves 3 to 5 days of active drying with daily monitoring. Restoration then takes 1 to 3 weeks or more depending on reconstruction scope. A small clean-water loss can go from event to finished in under two weeks; large or contaminated losses take longer.
When the underlying loss is a covered peril (sudden and accidental), insurers typically cover emergency mitigation and the restoration repairs, subject to your deductible and policy limits. Policies also impose a duty to mitigate, meaning you are expected to prevent further damage rather than letting water sit.
Not necessarily. If the water was clean, discovered quickly, affected only non-porous surfaces, and moisture readings confirm complete drying, mitigation alone may be the whole job. Restoration is needed when materials were removed or damaged beyond what drying can fix.
Related Guides
References
- Western Restoration AZ. (2026). Water mitigation vs. restoration: Key differences explained. https://pr.southsaltlakejournal.com/article/Water-Mitigation-vs-Restoration-Key-Differences-Explained/6ab7f75e0bd56c000299a5b3
- Angi. (2026). How much does water damage restoration cost in Portland, OR? https://www.angi.com/articles/how-much-does-it-cost-repair-water-damage/or/portland
- RubyHome. (2026). Water damage statistics (2026). https://www.rubyhome.com/blog/water-damage-stats/
- Aftercare Restoration. (2026). First 24 hours after water damage in Pennsylvania. https://aftercarerestoration.com/blog/first-24-hours-after-water-damage-in-pennsylvania/
Water damage can't wait.
Available 24/7 across the Kansas City metro and Missouri. Call (773) 241-7457 now for help day or night.