Home / Blog / What to Do in the First 24 Hours After Water Damage: A Missouri Homeowner's Guide
Water Damage Missouri BlogWhat to Do in the First 24 Hours After Water Damage: A Missouri Homeowner's Guide
You walk downstairs and hear it before you see it: the squelch of soaked carpet, or the unmistakable sound of water where water should not be. Your heart rate spikes, and every instinct says to start scooping, mopping, and hauling things at once. Slow down for sixty seconds and read this first. What you do in the first 24 hours after water damage determines whether you are dealing with a bad week or a bad season. The right moves, in the right order, protect your safety, your insurance claim, and your wallet. The wrong moves, usually made with the best intentions, can turn a manageable incident into a mold remediation and a denied claim.
First: Make Sure Nobody Gets Hurt
Water and houses mix badly with electricity, and that is the first thing to respect. Before you wade in:
- Do not enter standing water until you are confident the electricity is off in the affected area. If water has reached outlets, appliances, or the breaker panel itself, call an electrician before entering. If you must cross a wet area to reach the breaker, and you have any doubt at all, wait for a professional.
- Turn off the power to affected areas at the breaker panel if you can do so safely from a dry location.
- Watch for gas hazards. If you smell gas or suspect a gas line was affected, leave and call your gas utility.
- Check structural safety. Sagging ceilings can collapse under the weight of trapped water. Do not stand under a bulging ceiling; if one is ballooning, it may need to be drained by a professional, not punctured by you.
- Treat floodwater as contaminated. Storm water and any water that may have contacted sewage is Category 3. Wear waterproof boots and gloves at minimum, keep children and pets out of the area, and do not let anyone with open cuts or immune concerns near it.
Safety checklists for post-flood entry consistently put these items first: confirm the building shows no instability, assess electrical and gas hazards with the right professional, and keep vulnerable people away from the cleanup area. Nothing you own is worth an injury.
Second: Stop the Source (If You Can)
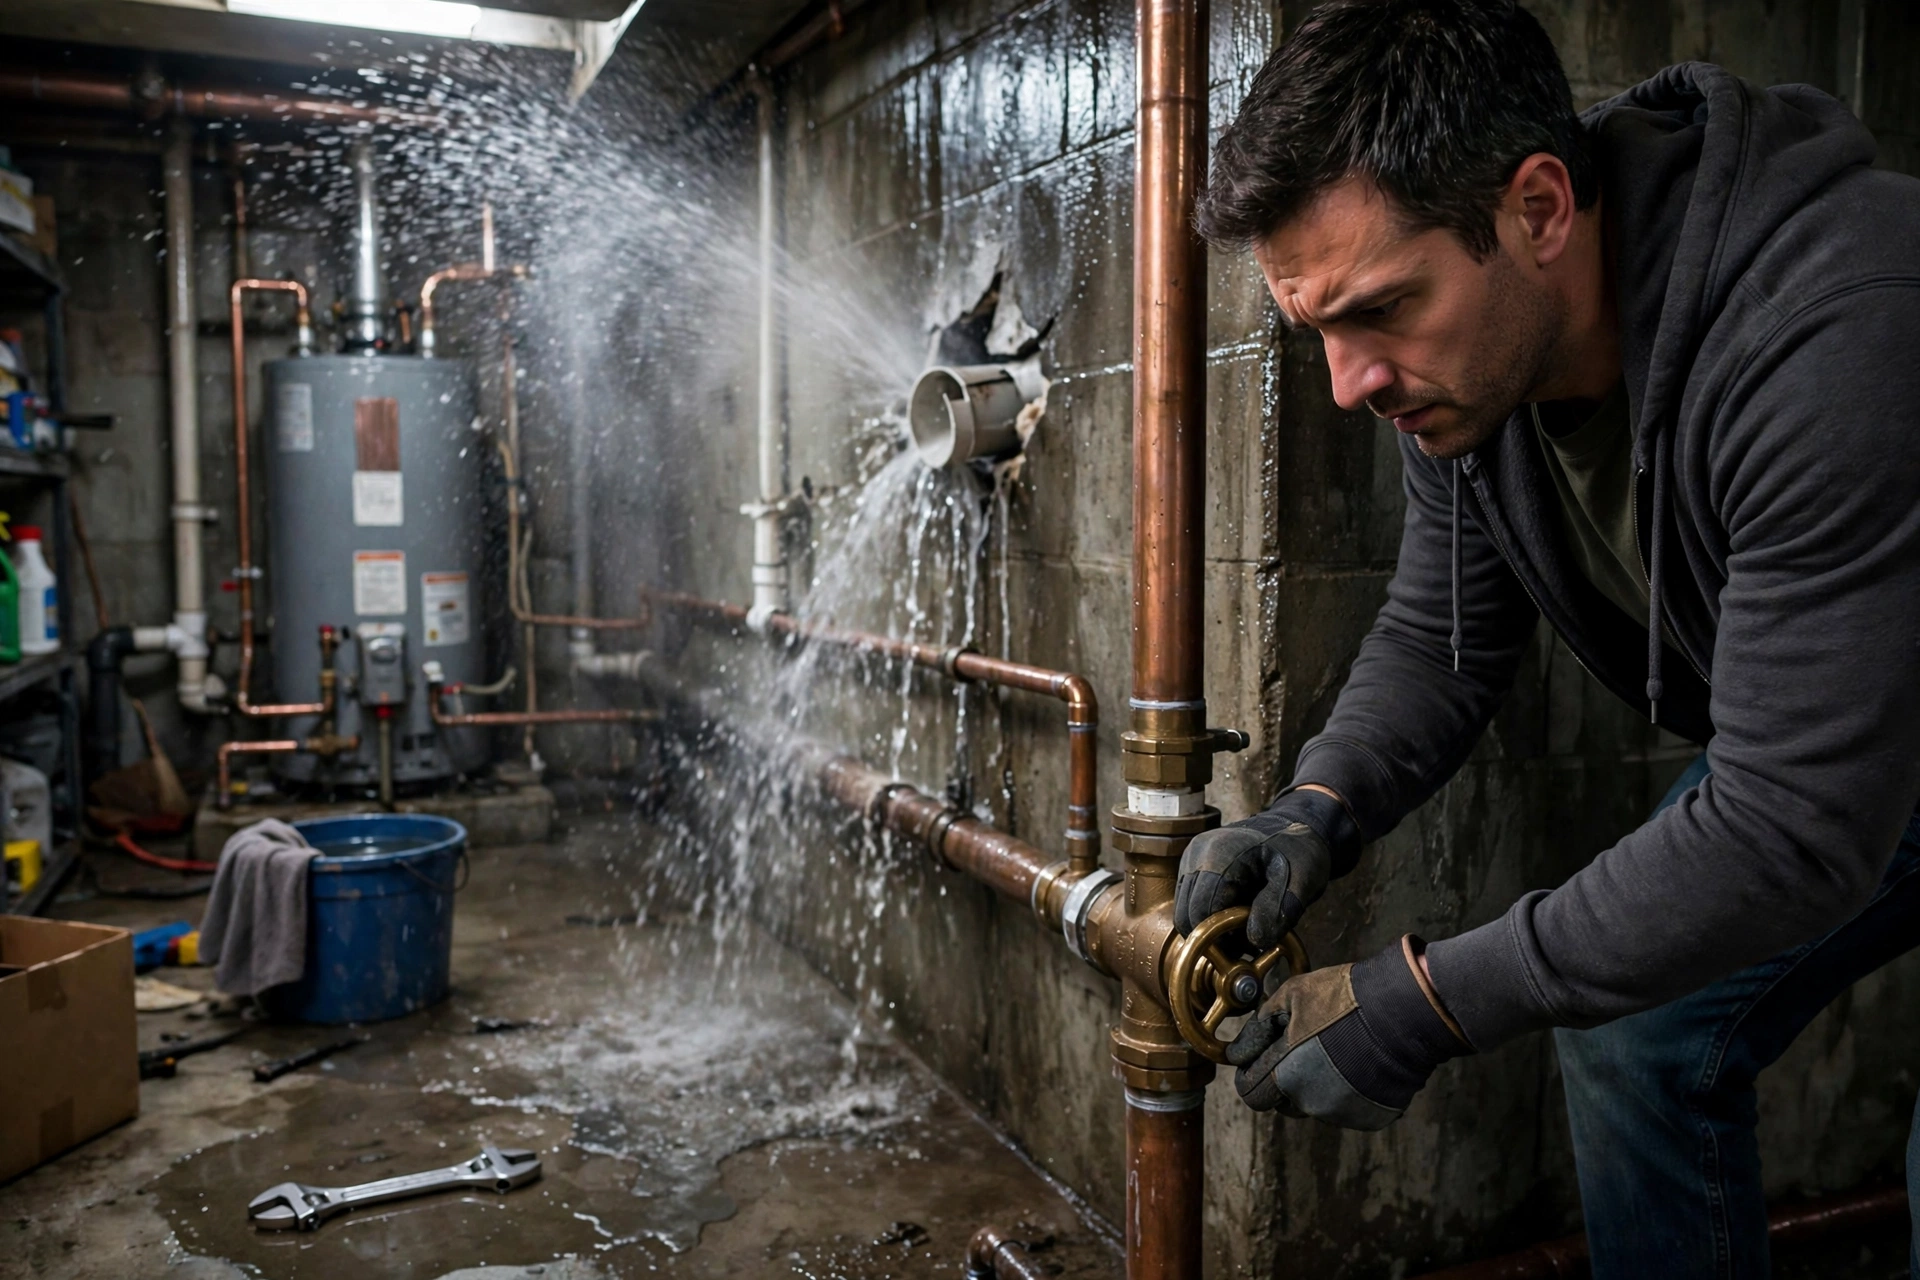
Once the area is safe to enter, stop more water from arriving:
- Plumbing leak: shut the fixture's supply valve first (under the sink, behind the toilet), then the main water shutoff if needed. Every home should have a clearly marked main valve; if you do not know where yours is, find it today, before the emergency.
- Appliance failure: shut off the appliance's water supply and unplug it only if you can do so without standing in water.
- Roof leak during a storm: you cannot fix the roof mid-storm. Place buckets, move valuables, and cover furniture with plastic sheeting. The repair waits for dry weather.
- Flooding from outside: you cannot stop rising water. Focus on safety, documentation, and getting belongings to higher ground if it is safe to do so.
Real talk: find your main water shutoff valve right now, today, before anything happens. In an emergency, the minutes you spend hunting for it are the most expensive minutes of the whole event.
Third: Document Everything Before You Touch Anything
This is the step almost everyone skips in the panic, and it is the step insurance adjusters care about most. Before you move, mop, or throw away a single thing:
- Photograph and video every affected area, wide shots first, then close-ups of damage, water lines on walls, and damaged items. Capture the source if it is visible, like the burst pipe or failed hose.
- Photograph damaged belongings where they are, including brand names and model numbers on appliances and electronics.
- Make a written list of damaged items and areas as you go. Memory fades; lists do not.
- Save receipts for every emergency expense: tarps, fans, hotel stays, even the pizza you bought the crew. Many policies reimburse reasonable emergency costs.
- Keep damaged items until your adjuster has seen them or given written permission to dispose of them. Photograph items before disposal when possible.
Documentation does more than support your claim. Detailed records establish timelines and demonstrate that you acted promptly and responsibly, which matters if any dispute arises later about the cause, timing, or severity of the loss. Insurers, contractors, and even courts all read the same story from your photos and logs.
Fourth: Call Your Insurance Company Promptly
Prompt notice is not a courtesy; it is typically a requirement of your policy. When you call:
- Report the loss and get your claim number and the adjuster's contact information.
- Ask what documentation they need and how they want it submitted.
- Ask about emergency mitigation: most policies require you to take reasonable steps to prevent further damage, and the insurer can confirm what emergency work is covered.
- Ask specifically about water backup coverage if the loss involves a sump pump, sewer backup, or drain overflow, since that often requires a separate endorsement.
- Ask about additional living expenses coverage if the home may be uninhabitable during repairs.
Here is the critical point people get backwards: do not delay emergency mitigation to wait for an adjuster visit. Your duty under the policy is to prevent further damage, and waiting days for an inspection while water sits is the opposite of that. Document thoroughly, start emergency drying, and let the adjuster review the documentation. Necessary emergency work done promptly is far easier to justify than damage that grew while you waited.
Fifth: Start Removing Water Safely
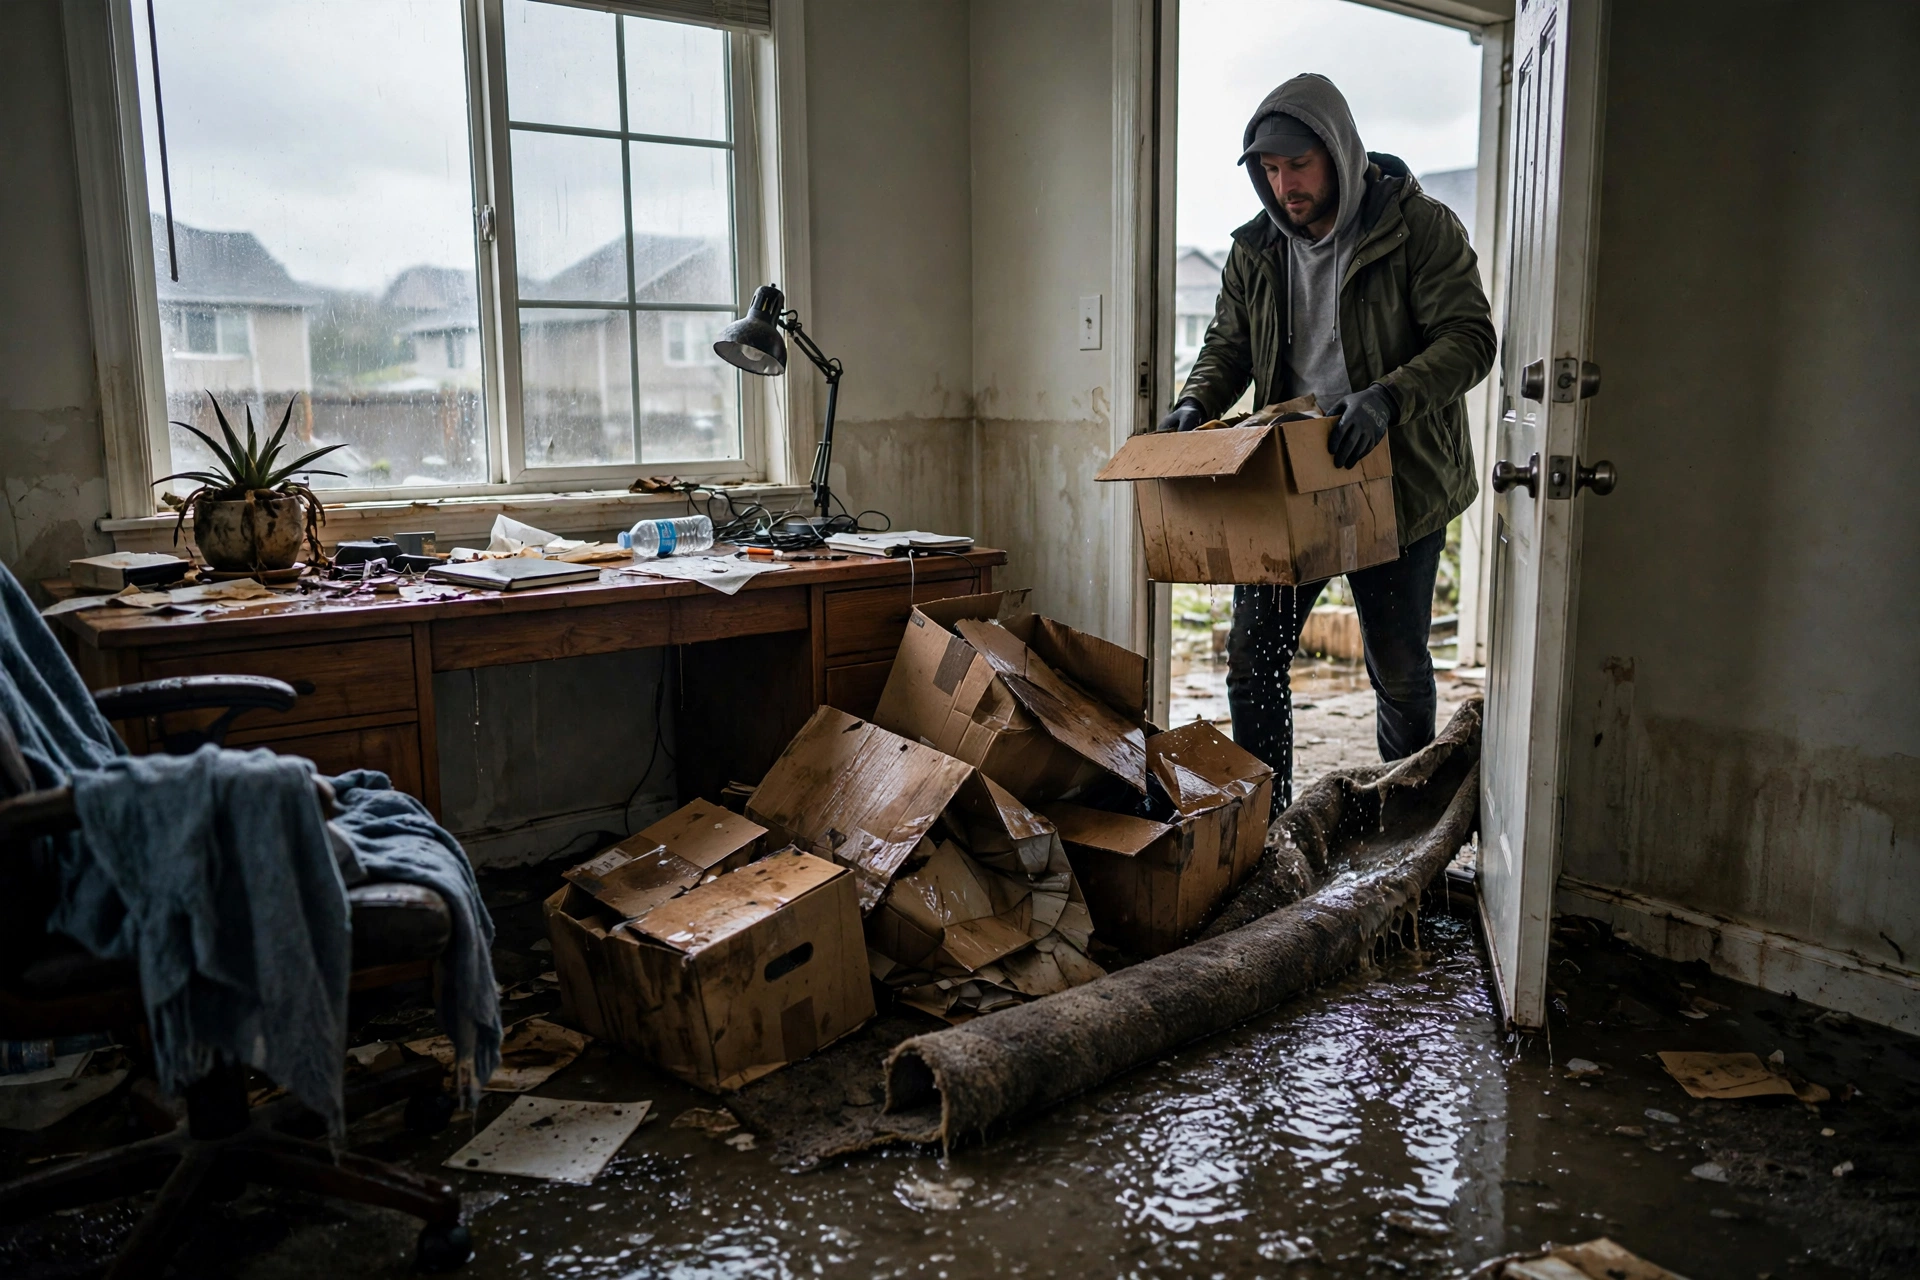
With the source stopped, the area documented, and the insurer notified, you can begin the initial water removal yourself, within limits:
- Mop, squeegee, and towel up what you can. For larger volumes, a wet/dry shop vacuum works; a regular household vacuum does not and is an electrocution risk.
- Move dry, uncontaminated belongings to a dry area. Prioritize documents, photos, electronics, and anything irreplaceable. Do not carry contaminated items through clean rooms.
- Lift furniture onto blocks or move it off wet carpet where you safely can. Pull up small area rugs to dry elsewhere.
- Start air circulation: open windows if the outdoor air is drier than indoors, and run fans and your home dehumidifier if you have one.
- Remove wet fabrics like curtains and small rugs that can be laundered, but bag anything contaminated by gray or black water separately.
What crosses the line into professional territory: water inside walls or under flooring, any gray or black water, areas larger than a small room, water that sat more than a day, and anything involving electrical systems. Professional emergency water extraction uses truck-mounted equipment that removes water orders of magnitude faster than consumer tools, and speed is the variable that controls everything downstream.
What NOT to Do in the First 24 Hours
- Do not use electrical appliances in wet areas, and do not assume an appliance is safe because its exterior looks dry.
- Do not use a household vacuum on standing water.
- Do not throw away damaged items before documenting them and checking with your insurer.
- Do not wait for the adjuster before starting emergency drying.
- Do not assume bleach solves everything. Bleach can damage some materials, must never be mixed with other cleaners, and does not substitute for removing soaked porous materials after contaminated flooding.
- Do not paint over stains or seal wet areas. Trapping moisture guarantees a mold problem later.
- Do not enter with bare feet or open wounds in any water that might be contaminated.
- Do not do heavy lifting alone with waterlogged furniture; soaked materials are far heavier than they look.
Real talk: the single most expensive mistake is doing nothing while you "figure out the insurance." Water does not pause for paperwork. Document, call, and start drying in the same hour.
The Mold Clock: Why 24 to 48 Hours Matters
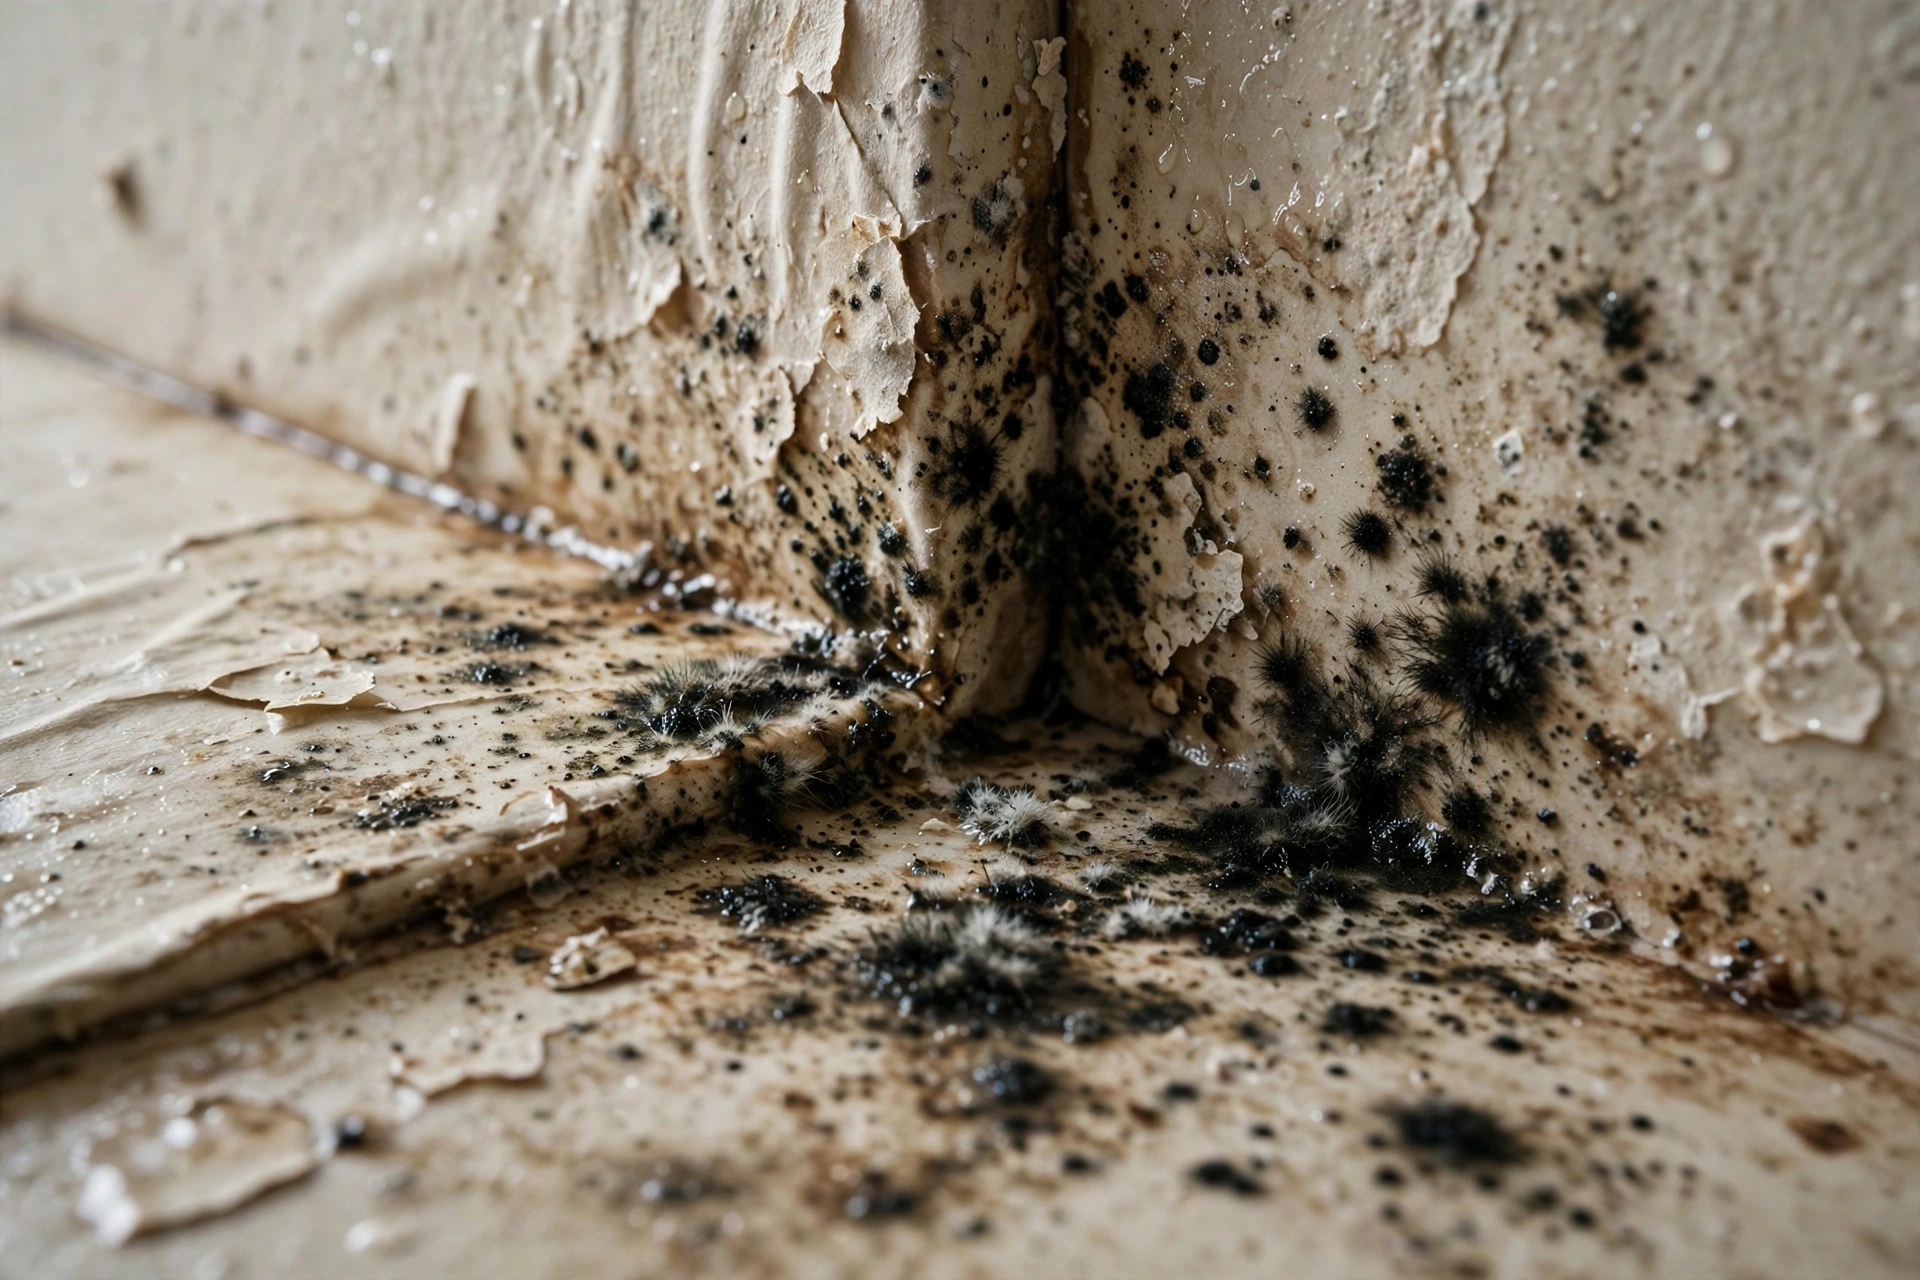
Mold can begin growing on wet materials within 24 to 48 hours of water exposure. That window is the reason the entire restoration industry is built around speed, and it is why the EPA guidance widely cited by professionals calls for drying water-damaged areas and items within 24 to 48 hours. This is not a guarantee that every building can be fully dried in two days; it is the target that separates a drying job from a mold remediation job.
What happens after the window closes: mold colonizes drywall paper, wood, and other organic materials, digesting them as it grows. A musty odor is often the first sign, sometimes before visible growth appears. Once established, mold does not stop on its own, and disturbing it without proper containment spreads spores to clean areas. What might have been a straightforward drying job in the first 48 hours can become extensive demolition and reconstruction, which is exactly why our cost guide shows mold remediation as one of the priciest add-ons.
When to Call Professionals (Probably Sooner Than You Think)
Call a restoration company immediately, not tomorrow, if any of these are true:
- Standing water covers a large area or is more than an inch or two deep.
- The water is gray or black: sewage backup, storm flooding, or unknown source.
- Water has entered walls, ceilings, or under flooring.
- The water sat undiscovered for more than a day.
- You smell mustiness or see discoloration suggesting the problem is older than it looks.
- Electrical systems, HVAC, or gas appliances were affected.
When a professional crew arrives, expect an inspection with moisture meters and often thermal imaging to map the full extent, followed by extraction, then drying equipment installation with a monitoring schedule. A proper water damage assessment finds the water you cannot see, which is precisely the water that causes problems weeks later. Water Damage Missouri's crews are available 24/7, because water damage does not restrict itself to business hours.
Missouri-Specific Notes: Storms, Flash Floods, and Basements
A few things about Missouri change the first-24-hours calculus compared to drier states:
- Storm season is real and recurring. Spring and summer bring intense thunderstorms, and flash flooding is a regular feature of Missouri weather, particularly in low-lying areas and near creeks and rivers. If your emergency is storm-driven, assume the water is Category 3 and act accordingly.
- Basements are everywhere. Much of the Kansas City metro housing stock has basements, and basements are where water collects. If your basement floods, check the sump pump first: a failed pump during a storm is one of the most common Missouri water emergencies, and it is exactly the scenario a water backup endorsement covers. Our flooded basement cleanup page covers the full response.
- Flash flood cleanup has its own rules. Floodwater carries sewage, chemicals, fuel, and debris. Porous materials it touches generally must be removed, not dried. See our flash flood cleanup and storm flood damage repair pages for the storm-specific process.
- Clay soils and seepage. Missouri's clay-heavy soils expand when wet and can drive water through foundation cracks during prolonged rain. Seepage is a coverage gray area, gradual seepage is commonly excluded from standard policies, so documenting whether your water arrived suddenly or seeped over time matters for your claim.
- Humidity slows drying. Missouri summers are humid, which means passive air-drying is less effective here than in arid climates. Mechanical dehumidification is not optional equipment in July; it is the whole game.
Hours 24 to 48: What Comes Next
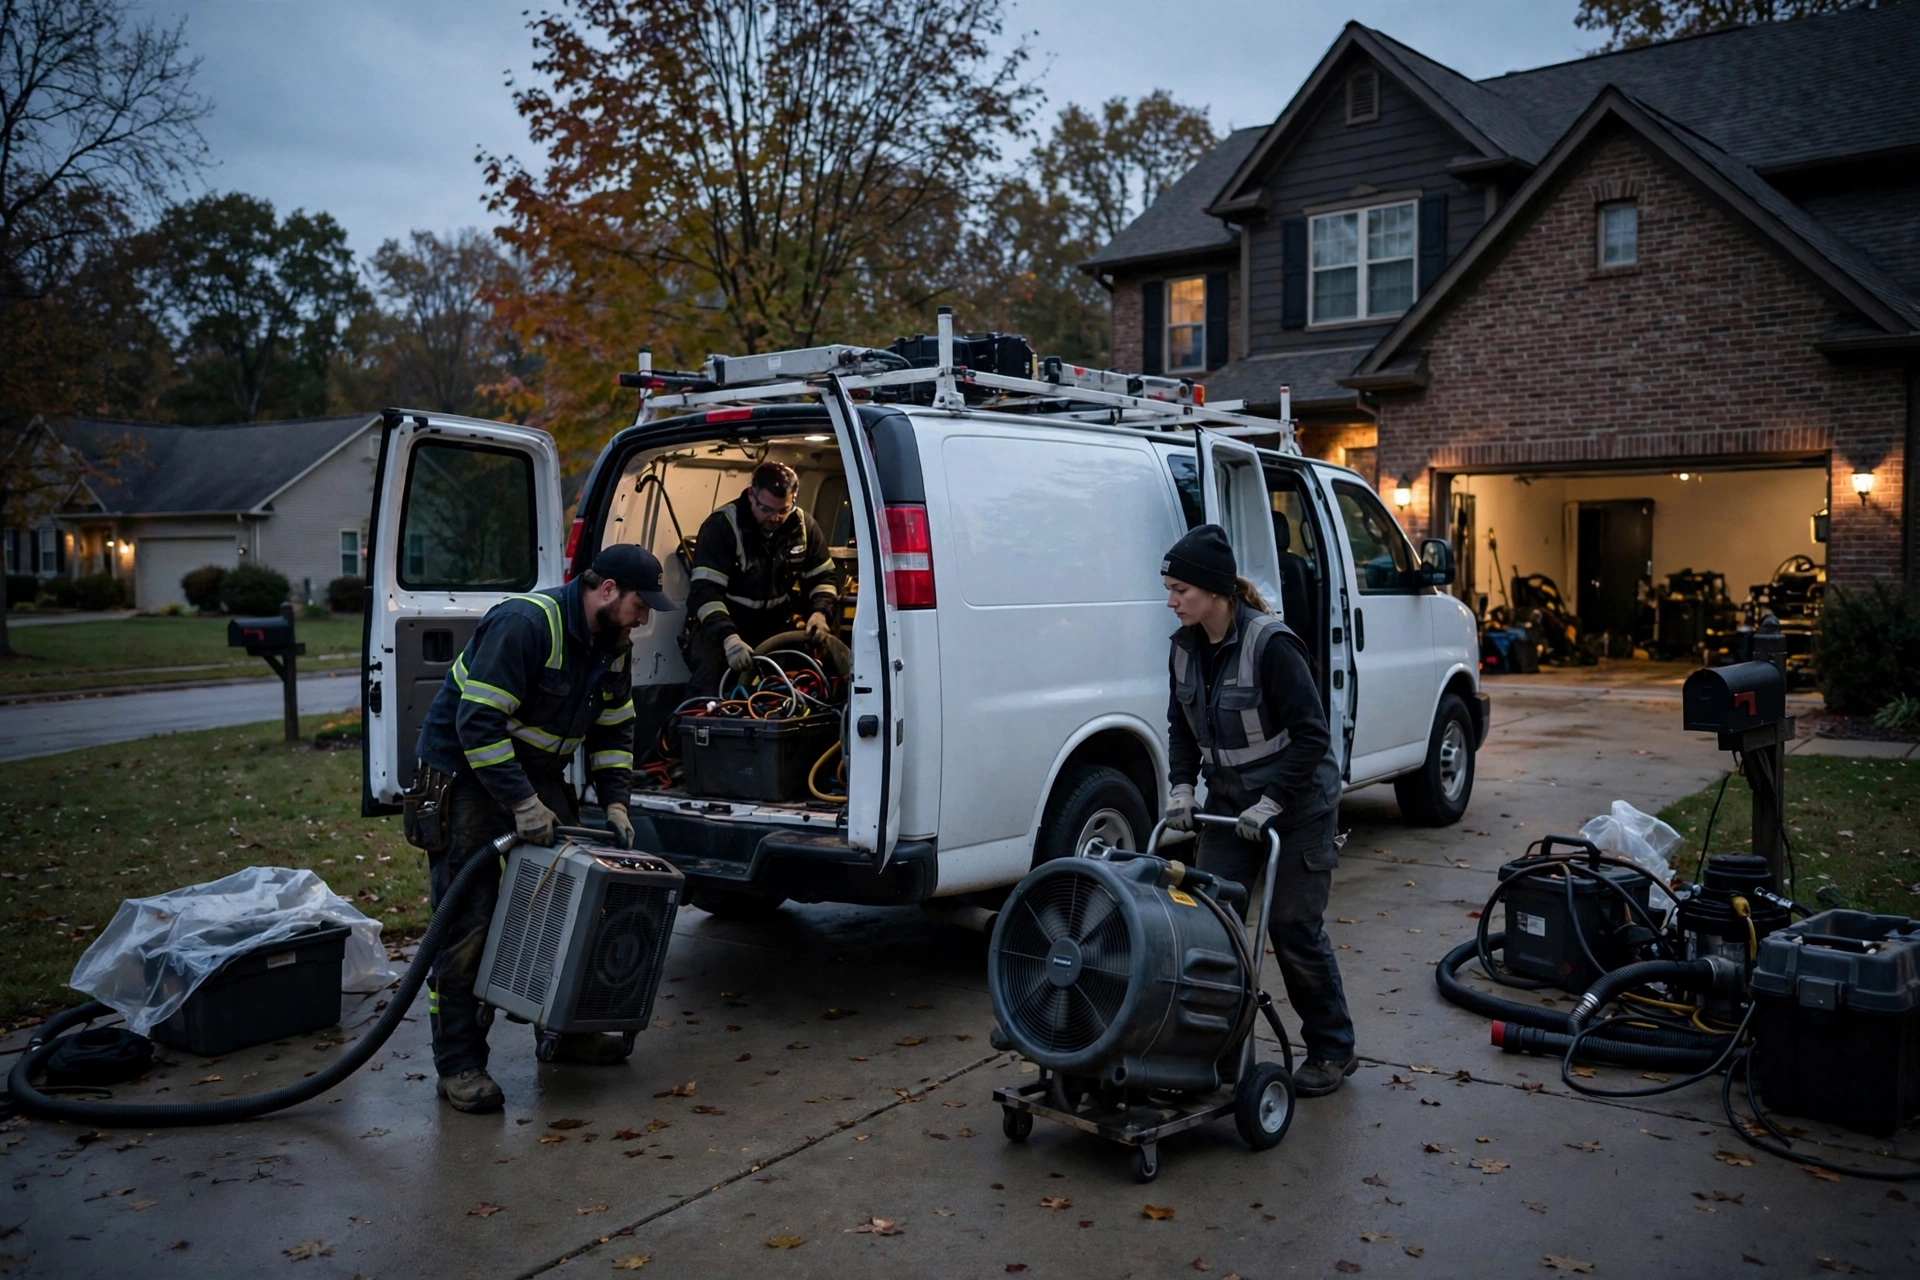
If the first 24 hours are about safety, documentation, and emergency water removal, the next 24 are about verification and momentum. By the second day, professional drying equipment should be running if the loss warranted it, moisture readings should be trending down, and your adjuster should have your initial documentation. This is also when the mitigation phase is in full swing: extraction complete, drying underway, unsalvageable materials being removed and documented.
Use the second day to handle logistics: confirm your claim number and adjuster assignment, line up any temporary living arrangements if areas of the home are unusable, and keep photographing progress. If you have not yet called a restoration company because the damage "didn't look that bad," the second day is your last comfortable chance to reconsider. Hidden moisture does not announce itself, and the 48-hour mold window does not negotiate.
A Printable Mental Checklist
Tape this sequence to your memory, because emergencies are the worst time to think from scratch:
- Safety: power off, no entry into electrified standing water, treat floodwater as contaminated.
- Stop the source: shutoff valves, main valve, or accept you cannot during a storm.
- Document: photos, video, lists, receipts, before moving anything.
- Call insurance: claim number, documentation requirements, emergency mitigation confirmation.
- Remove water: mop, shop vac, move dry belongings, start airflow.
- Do not: use electrics in wet areas, discard items before documenting, wait for the adjuster to start drying, or paint over anything wet.
- Watch the clock: drying within 24 to 48 hours is the target that prevents mold.
- Call professionals: large areas, contaminated water, water in walls, or anything you are unsure about.
Water damage is one of the most stressful things a homeowner faces, but it is also one of the most manageable when the first day is handled well. Safety first, source second, documentation third, drying always. If you are in the Kansas City area and dealing with water right now, Water Damage Missouri answers around the clock at (773) 241-7457, and our water damage cleanup team can take it from the emergency phase through full restoration.
Special Cases: Sewage, Appliances, and Roof Leaks
Not all water emergencies follow the same script. Three common scenarios each have their own wrinkles:
Sewage backup is the most hazardous residential scenario. It is Category 3 by definition, it carries bacteria and viruses, and cleanup is strictly professional work with full protective equipment. Do not attempt to mop or shop-vac sewage. Keep everyone out of the area, call your insurer (and specifically ask about that water backup endorsement, since standard policies commonly exclude sewer backup), and call a restoration company. Porous materials in contact with sewage are removed, never dried and reused.
Appliance floods, from washing machines, dishwashers, water heaters, and refrigerator lines, are the most common sudden-and-accidental claims, and usually the most straightforward. The water starts as Category 1, which means fast action genuinely saves materials: a supply hose caught within an hour on a hard floor may need nothing more than extraction and drying. The danger is delay. A slow appliance leak behind a wall can run for weeks, degrading into a Category 2 situation with mold, and crossing from "sudden" into "gradual" in the insurer's eyes. If an appliance failed, photograph the failed part and keep it; proving the loss was sudden protects your claim.
Roof leaks follow gravity's logic: water enters at one point and travels along framing, often surfacing far from the entry. In the first 24 hours, your job is containment, not repair. Buckets, tarps, plastic sheeting over furniture, and moving valuables out of the drip path. Do not go on the roof during the storm. Once weather clears, the roof repair and the interior restoration are separate jobs with separate contractors, and your documentation should cover both the exterior damage and every interior stain, since adjusters need to connect the two.
Frequently Asked Questions
Ensure safety first: turn off power to affected areas from a dry location and do not enter standing water that may be electrified. Then stop the water source if you safely can, such as shutting a supply valve or the main water shutoff. Only after safety and source control should you move to documentation and cleanup.
No. Policies generally require you to take reasonable steps to prevent further damage, and waiting days for an inspection while water sits can worsen the damage and complicate your claim. Document everything thoroughly with photos and video, notify your insurer promptly, and begin emergency water removal and drying right away.
Mold can begin growing on wet materials within 24 to 48 hours. EPA guidance widely cited in the restoration industry calls for drying water-damaged areas and items within that window. Missing the window often converts a drying job into a mold remediation project, which is significantly more expensive.
It depends on the extent and category of water. A small clean-water incident in one room is usually fine. With contaminated floodwater, sewage backup, extensive demolition, or compromised electrical or HVAC systems, temporary relocation is the safer choice until professionals declare the space safe.
Floodwater is Category 3, grossly contaminated, and cleanup beyond very minor contact should be left to professionals with protective equipment. Porous materials soaked by floodwater generally must be removed rather than dried, and proper sanitizing requires professional products and procedures.
Do not discard damaged items until your adjuster has seen them or given written permission. Photograph everything before disposal, including brand and model numbers. Keep receipts for all emergency expenses, as many policies reimburse reasonable mitigation costs.
Related Guides
References
- Aftercare Restoration. (2026). First 24 hours after water damage in Pennsylvania. https://aftercarerestoration.com/blog/first-24-hours-after-water-damage-in-pennsylvania/
- Just Us Restoration. (2026). How fast mold can grow after water damage in your home. https://www.justusrestoration.com/article/how-fast-mold-can-grow-after-water-damage-in-your-home
- CBIZ. (2026). Reducing water and mold losses in multifamily properties. https://www.cbiz.com/insights/article/reducing-water-and-mold-losses-in-multifamily-properties
- HomeClaimGuide. (n.d.). Does homeowners insurance cover water damage? The sudden vs gradual rule explained. https://homeclaimguide.com/does-homeowners-insurance-cover-water-damage/
Water damage can't wait.
Available 24/7 across the Kansas City metro and Missouri. Call (773) 241-7457 now for help day or night.